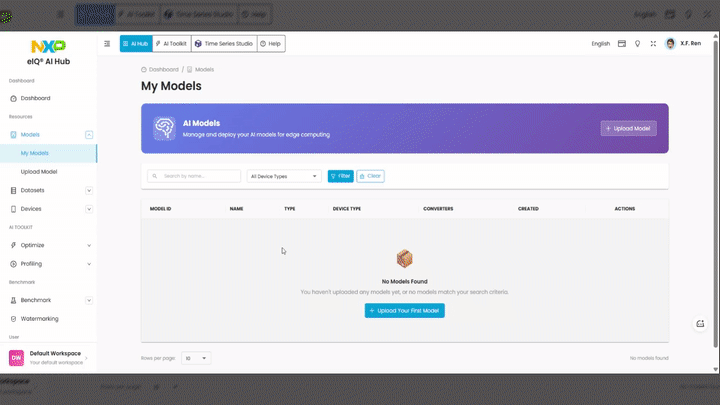
Upload Your Models
Supported Model Formats
eIQ AI Hub accepts a range of common model formats. After upload, your model is automatically validated and inspected to ensure compatibility with downstream tools such as converters, the Optimizer, and profilers.
The supported file formats are:
TensorFlow Lite (
.tflite) — float32 or quantized (int8/uint8)ONNX (
.onnx)PyTorch (
.ziparchive containing the model)
Upload Workflow
The model upload process follows a three-step wizard:
Select File — choose a model file from your local filesystem.
Review — verify and edit the auto-detected model information (name, type, inputs, outputs).
Upload — confirm and submit the model to your workspace.
Note
The system automatically detects the model name and type from the uploaded file. It also detects NPU optimization support (Neutron SDK/Vela) from the model.
Upload TensorFlow Lite Model
You can upload either a float32 model or a quantized model (int8/uint8) in .tflite format.

Steps:
In the left navigation menu, click Models > Upload Model.
On the Select File step, drag and drop the
.tflitefile into the upload area, or click to browse your local filesystem.On the Review step, verify the auto-detected model information:
Model Name — edit if needed.
Type — confirmed as
tflite.Description — optional; describe your model’s purpose.
Task Type — optional; select the primary task (e.g., Image Classification).
Architecture — optional; select the model architecture.
Model Inputs — verify the input node names, shapes, and data types.
Model Outputs — verify the output node names and shapes.
On the Upload step, review the summary (model name, type, file) and click Upload Model.
After uploading, the model appears in your model list. Click the model to view its detail page, where you can inspect the model visualization, download the model file, or delete it.
Upload ONNX Model
Upload an ONNX model in .onnx format.
Steps:
In the left navigation menu, click Models > Upload Model.
On the Select File step, drag and drop the
.onnxfile into the upload area, or click to browse your local filesystem.On the Review step, verify the auto-detected model information (name, type, inputs, outputs).
On the Upload step, review the summary and click Upload Model.
Upload PyTorch Model
PyTorch models must be packaged as a .zip archive before uploading.

Steps:
In this workflow, PyTorch models require separate model definition and weight files, unlike TFLite and ONNX models, which typically store both in a single file. Users need to prepare:
model.py for the model definition
a weight file such as *.pt
Package your PyTorch model files into a
.ziparchive.In the left navigation menu, click Models > Upload Model.
On the Select File step, drag and drop the
.zipfile into the upload area, or click to browse your local filesystem.On the Review step, verify and edit the model information:
Model Name — edit if needed (auto-detected from the archive).
Type — confirmed as
pytorch.Description — optional.
Task Type — optional.
Architecture — optional.
Model Inputs — specify input node names, shapes (e.g.,
1,224,224,3), and data types.Model Outputs — specify output node names and shapes.
On the Upload step, review the summary and click Upload Model.