User Profile
The User Profile page provides a centralized location to view your account information, manage API access tokens, and monitor credits and storage usage.
You can access the User Profile page in any of the following ways:
Click your avatar in the top-right header and select View Profile
Click User Profile in the left sidebar navigation
Accessing the Profile Page
The profile page is organized into the following tabs:
Profile — View your account details
API Tokens — Create and manage API access tokens
Credits — Monitor your credit balance and transaction history
Storage — View storage usage and clean up orphan files
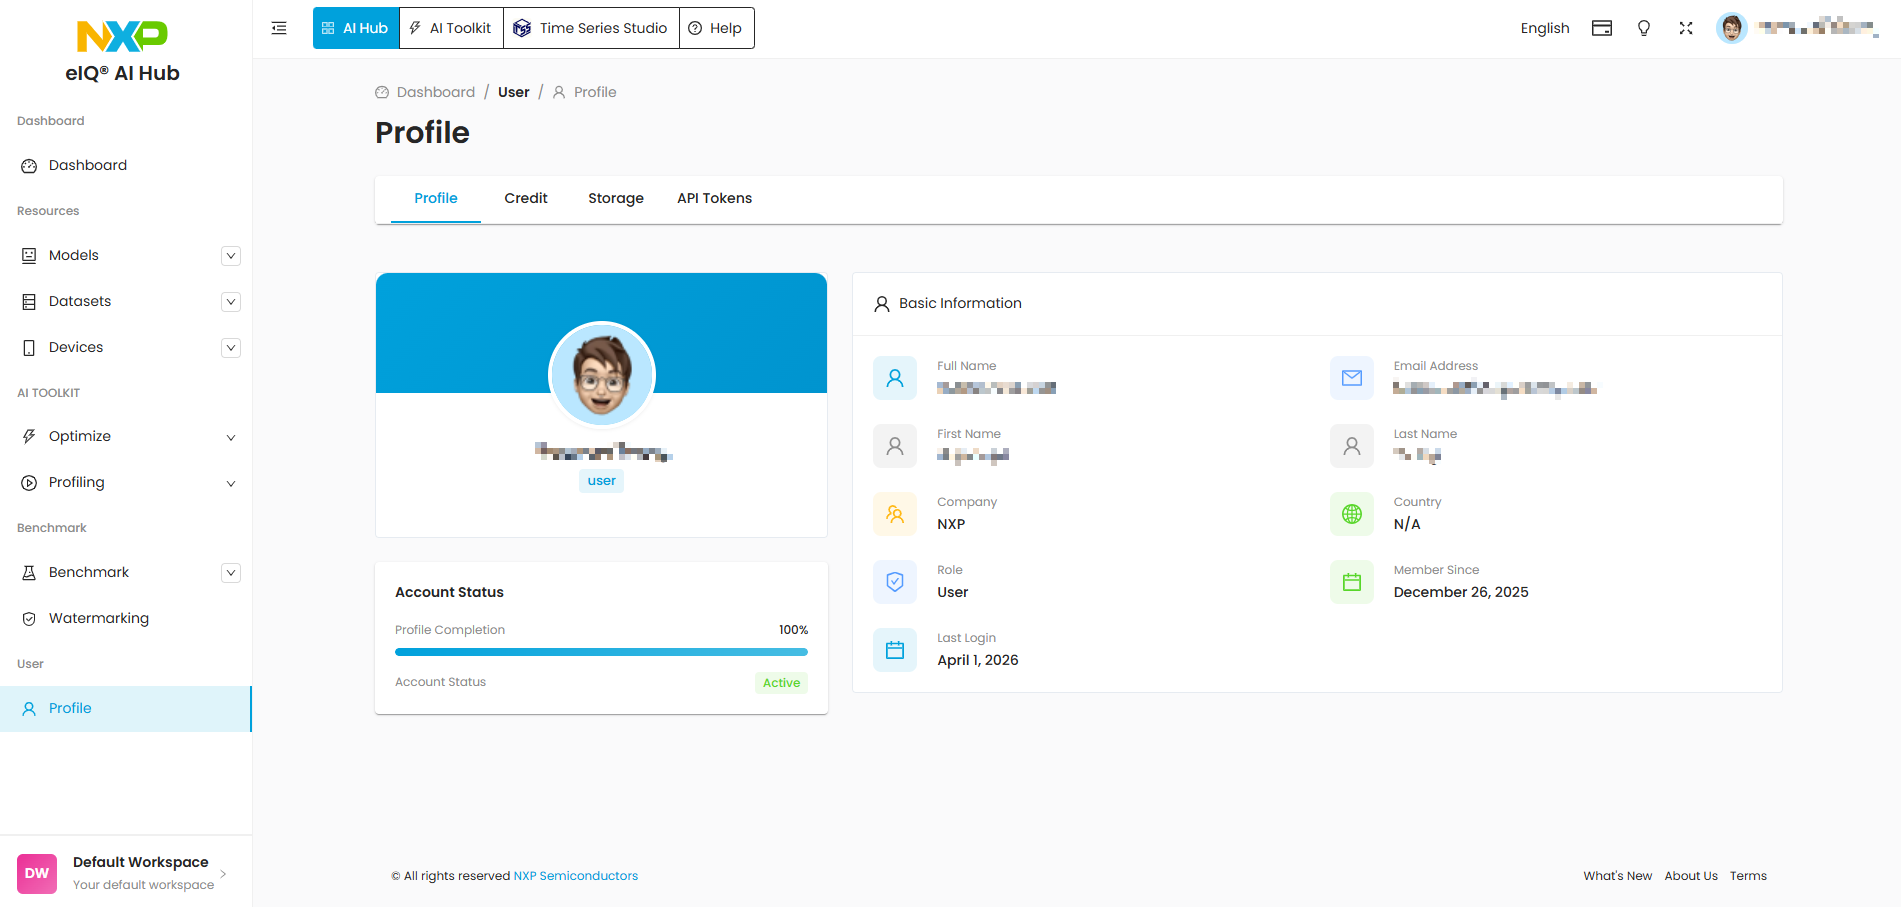
Profile Tab
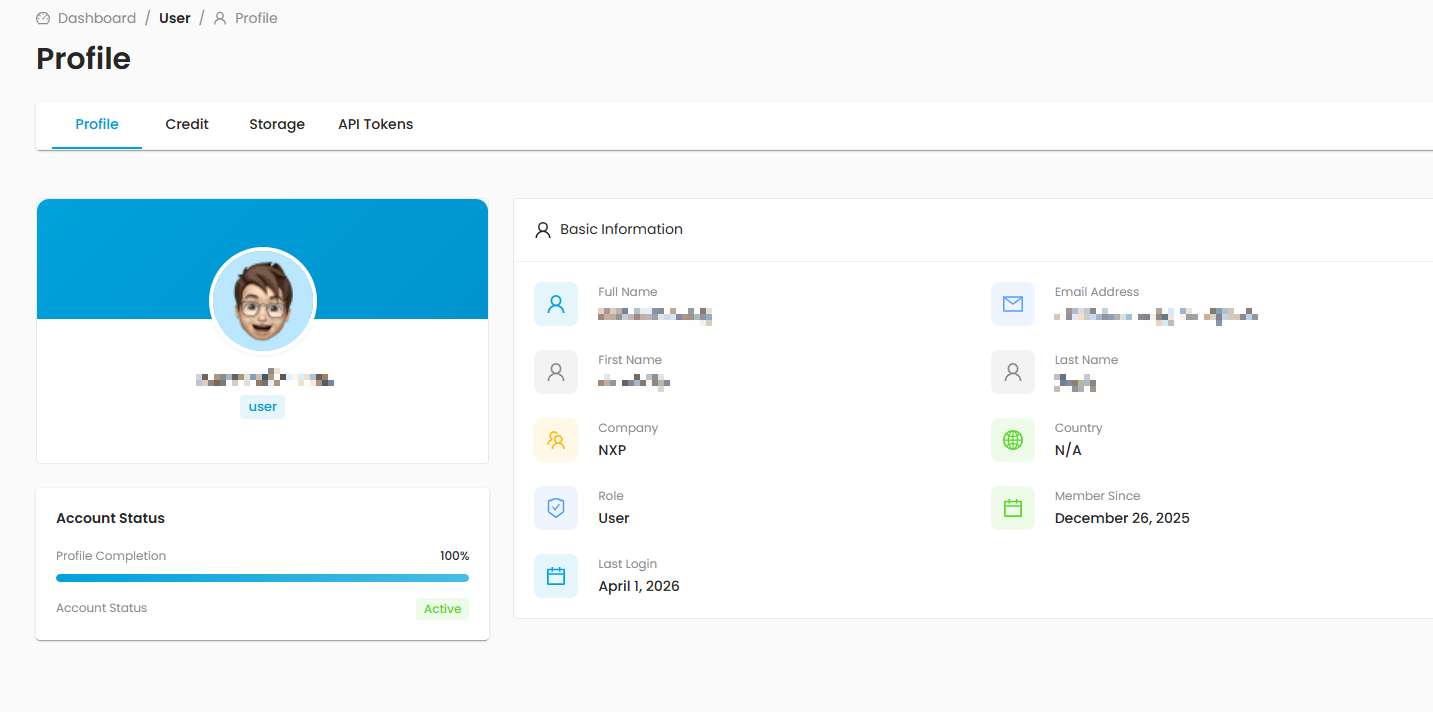
The Profile tab displays your account information in two sections:
Profile Card (left):
Your display name and avatar
Your assigned role (for example, User or Admin)
Account status and profile completion
Basic Information (right):
Full Name — Your first and last name
Email Address — The email associated with your account
First Name and Last Name
Company — Your organization (populated from SSO when applicable)
Country — Your country (populated from SSO when applicable)
Role — Your assigned role within eIQ AI Hub
Member Since — The date your account was created
Last Login — The date and time of your most recent login
Note
Profile information is read-only. For SSO users, name and organization details are managed through your NXP account. If you need to update your information, contact your administrator.
API Tokens Tab
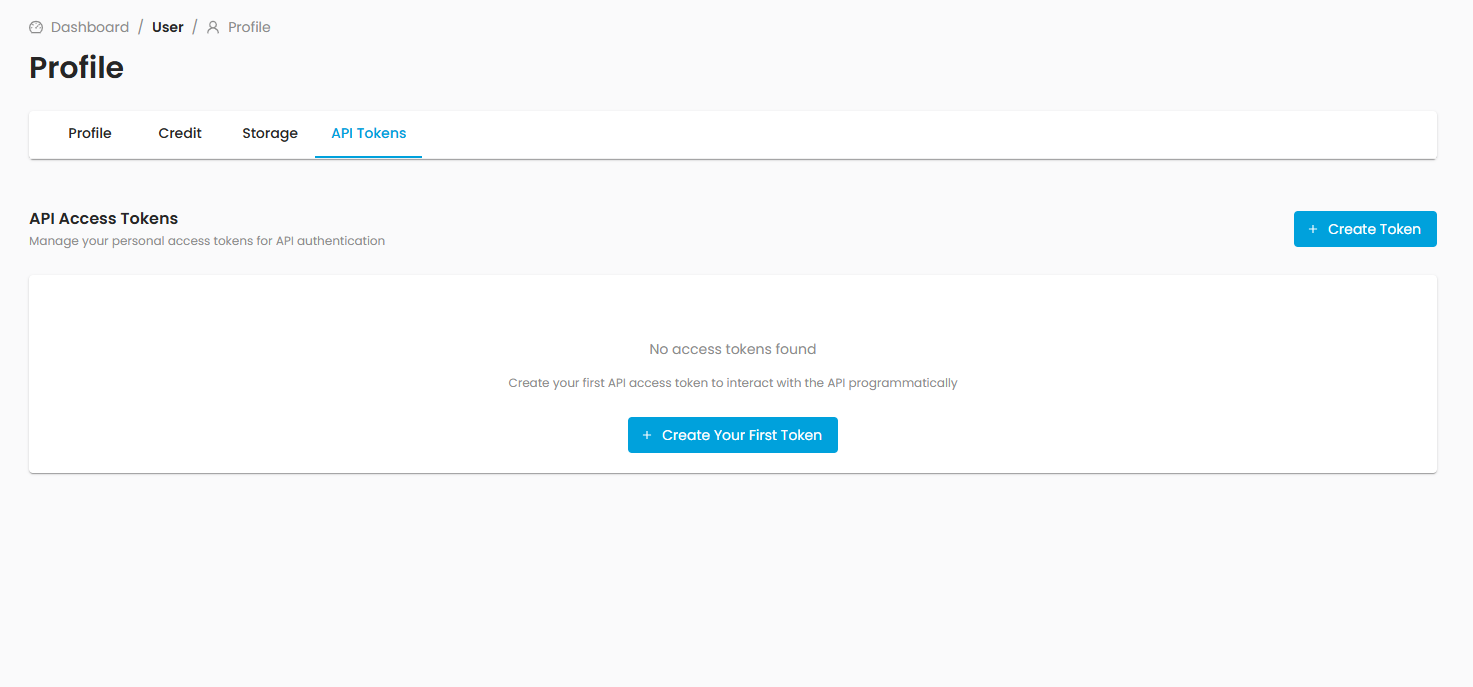
API tokens allow you to authenticate programmatic access to eIQ AI Hub from CLI tools,
scripts, or third-party applications. Tokens are prefixed with sk- and function as
long-lived alternatives to your login session.
Creating a Token
Navigate to the API Tokens tab.
Click Create Token.
Fill in the token details:
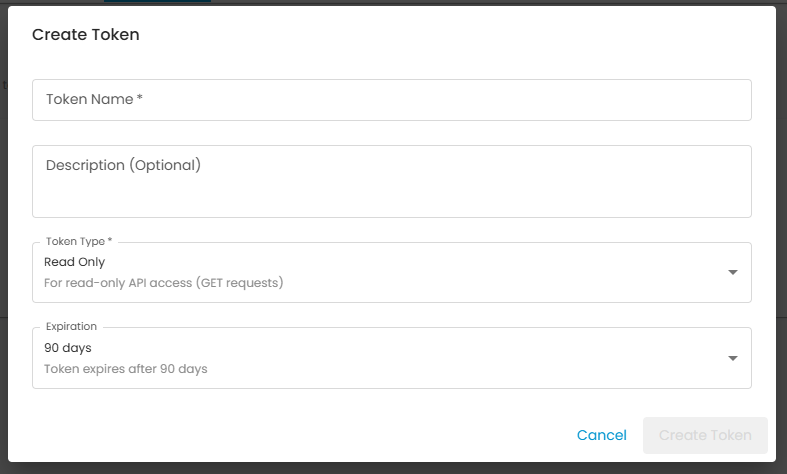
Name (required) — A descriptive name for the token, for example “CI Pipeline Token”.
Description (optional) — Additional context about the token’s purpose.
Token Type — Select one of the following permission levels:
Type
Permissions
Read Only
GET requests only. Suitable for querying model lists, viewing profiling results, and reading benchmarks.
Read & Write
GET, POST, PUT, and PATCH requests. Suitable for uploading models, submitting optimization jobs, and managing resources.
Admin
Full access including DELETE operations. Use with caution.
Expiration — Choose when the token expires:
Option
Description
Never
The token remains valid until manually revoked.
1, 7, 15, 30, 60, 90, 180 days
The token expires after the specified period.
1 year
The token expires after one year.
Click Create.
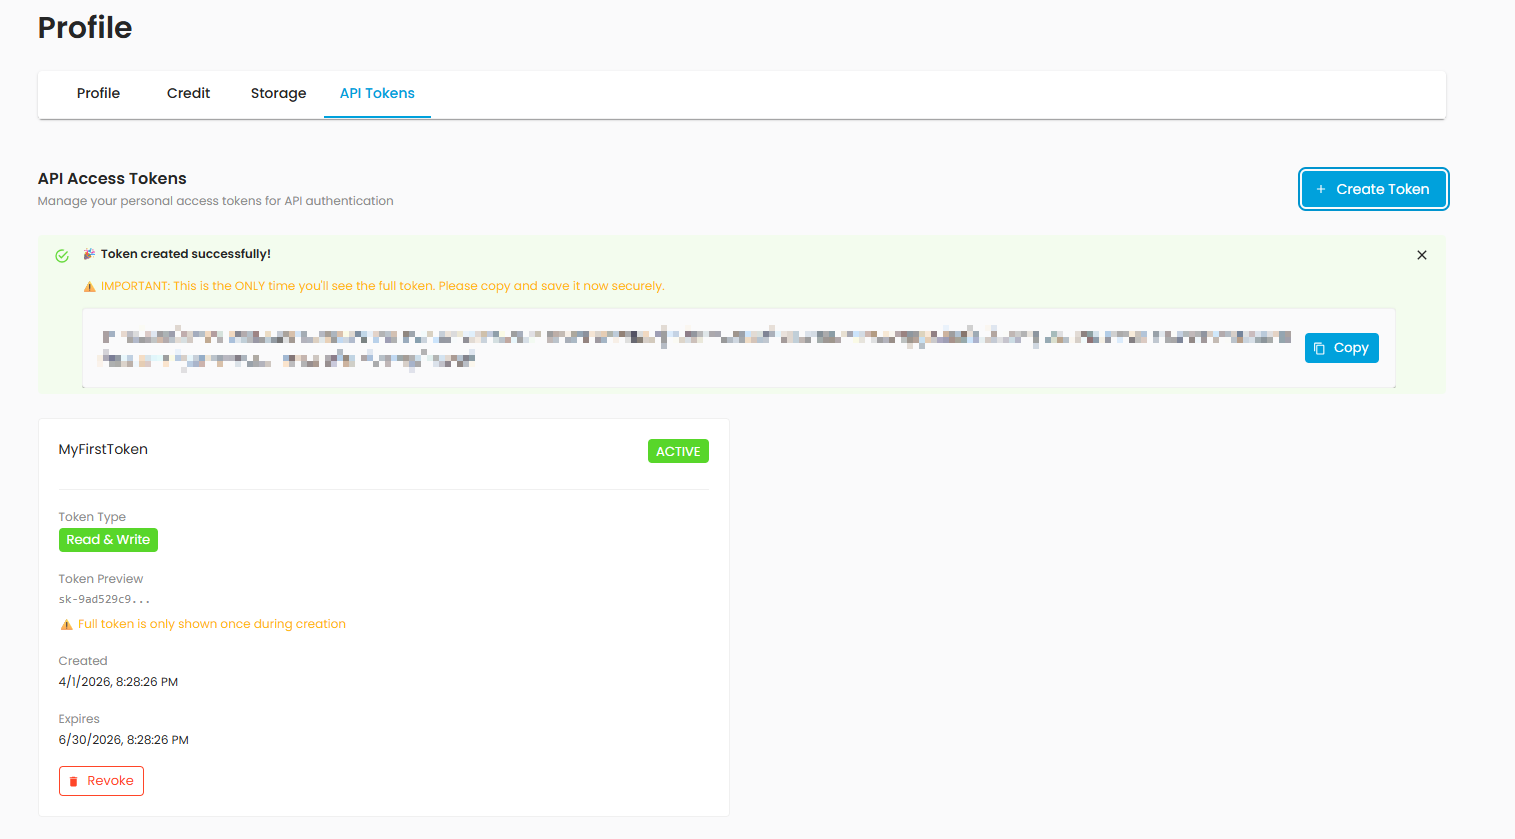
Warning
The full token value is displayed only once at creation. Copy and store it securely immediately. After you close the dialog, the token cannot be retrieved — only its prefix is shown in the token list.
Managing Tokens
The token list displays the following information for each token:
Name and description
Status — Active, Expired, or Revoked
Type — Read Only, Read & Write, or Admin
Token prefix — A partial identifier (for example
sk-a1b2...)Created date and Expiration date
Last used date
To revoke an active token:
Locate the token in the list.
Click the Revoke button.
Confirm the revocation in the dialog.
Once revoked, a token cannot be reactivated. You must create a new token if needed.
Credits Tab
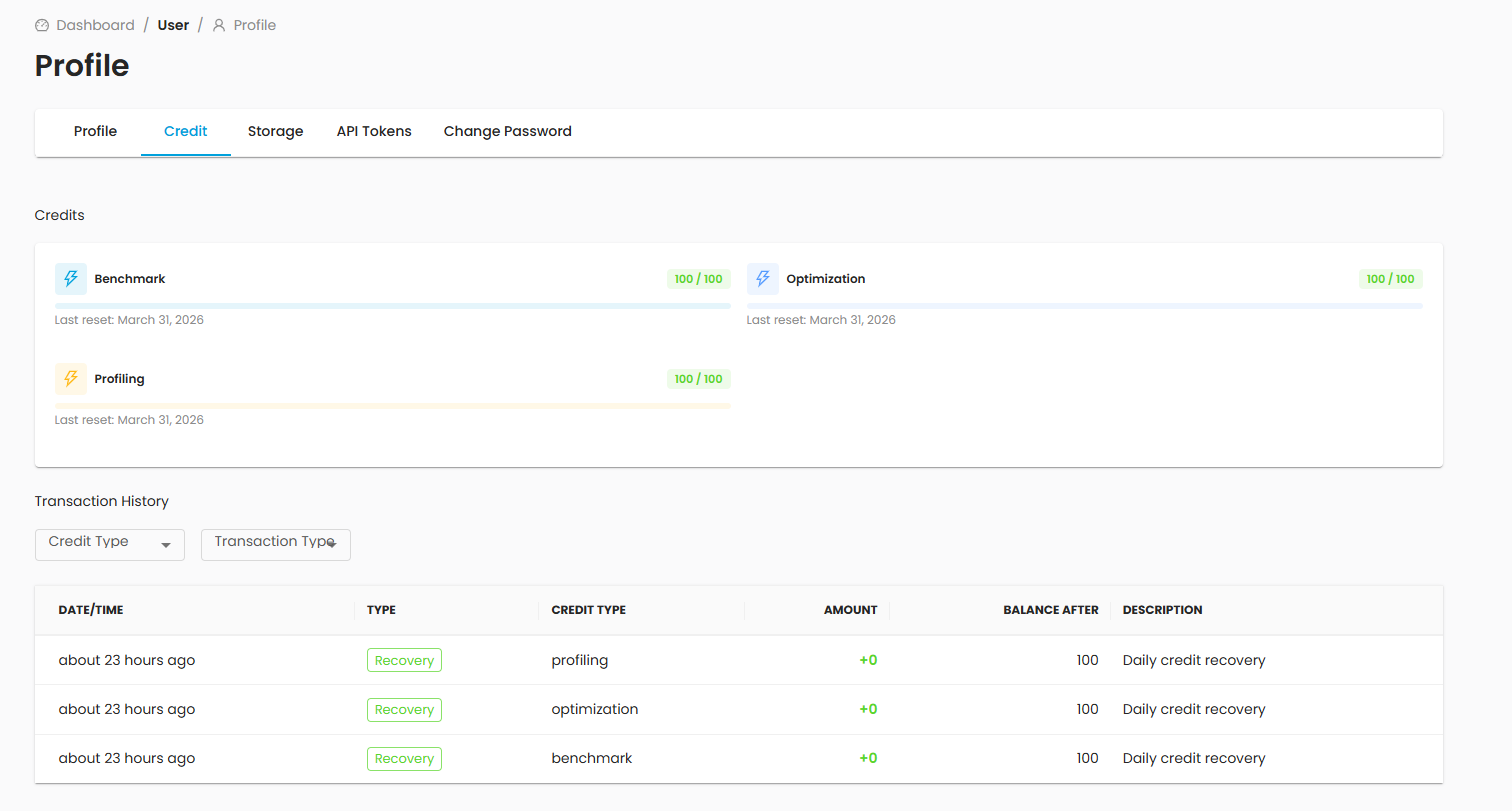
Credits represent your usage quota for eIQ AI Hub services. The Credits tab provides an overview of your current balances and a detailed transaction history.
Credit Types
eIQ AI Hub tracks credits separately for each service type:
Benchmark credits — Used when running model benchmarks on real hardware.
Optimization credits — Used when submitting model optimization jobs.
Profiling credits — Used when running profiling tasks (simulated, MCU, or on-device).
Each credit type has a daily quota that resets automatically. The overview shows your quota, how many credits you have used, and the remaining balance for each type.
Transaction History
The transaction history lists all credit-consuming and credit-related activities. You can filter the list by:
Credit type — Benchmark, Optimization, or Profiling
Transaction type — Charge, refund, reservation, or reset
Each transaction entry shows the amount, the associated task or resource, and the timestamp.
Storage Tab
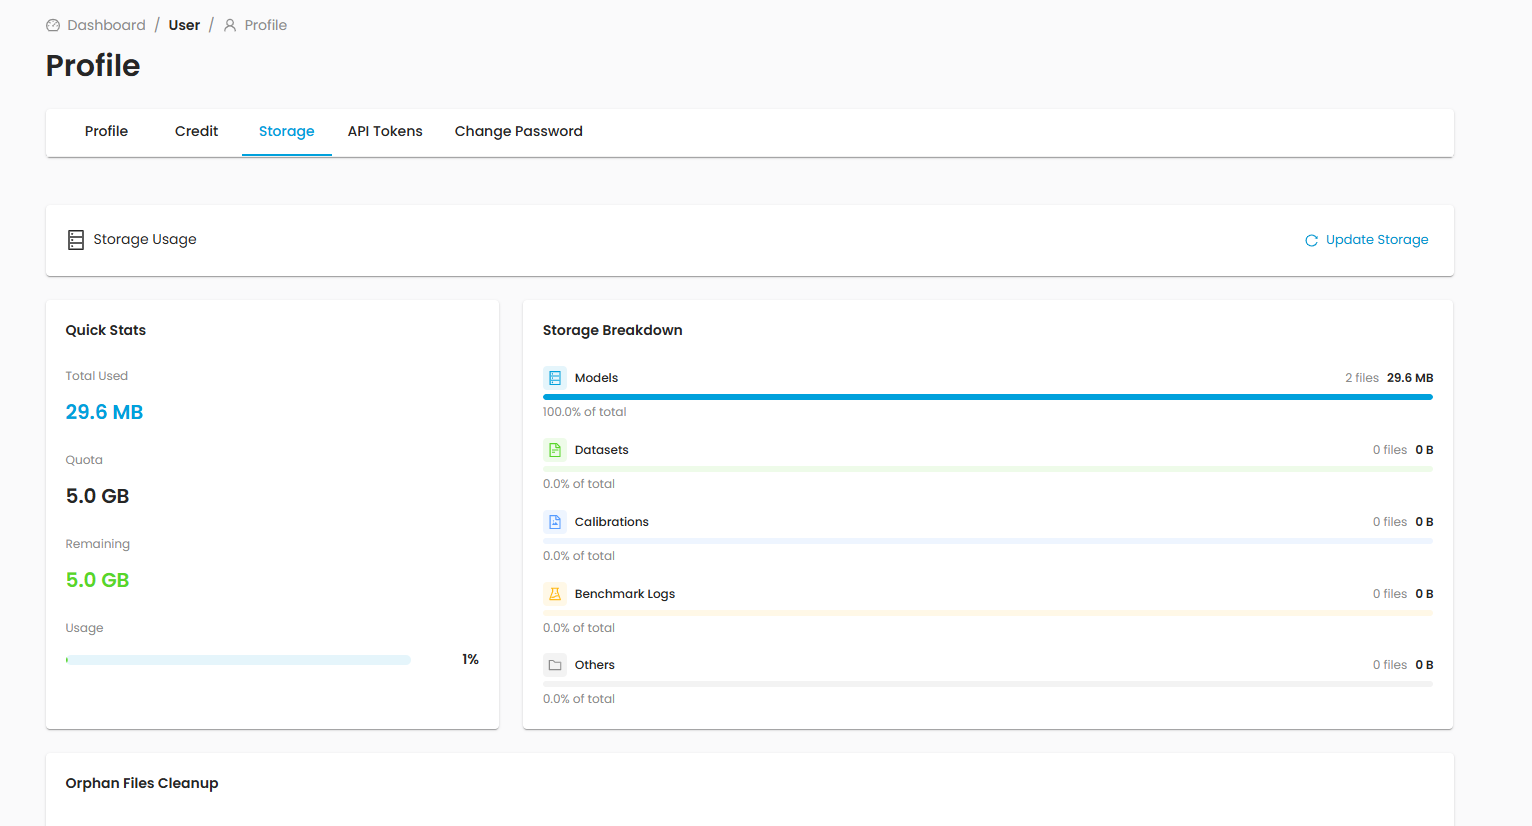
The Storage tab shows how much of your allocated storage quota you are using and allows you to manage orphan files.
Storage Overview
The overview section displays:
Total quota — Your allocated storage limit (default: 5 GB)
Used — The amount of storage currently in use
Remaining — The available storage
The usage is broken down by resource type:
Category |
Contents |
|---|---|
Models |
Uploaded and optimized model files |
Datasets |
Uploaded evaluation datasets |
Calibrations |
Calibration data files |
Benchmarks |
Benchmark results and artifacts |
Others |
Miscellaneous files |
Note
Storage usage is calculated from your MinIO bucket. If the displayed values seem outdated, click Refresh to recalculate the actual usage.
Cleaning Up Orphan Files

Orphan files are files in your storage bucket that are no longer associated with any resource in the database (for example, files from a deleted model or a failed upload).
To clean up orphan files:
Click Scan for Orphan Files. The system scans your bucket and lists any unlinked files.
Review the list of detected orphan files.
Select the files you want to remove.
Click Delete Selected to permanently remove them.
Warning
Deleting orphan files is irreversible. Make sure the files are truly no longer needed before proceeding.
Security Best Practices
Keep your API tokens secure. Treat tokens like passwords — never share them publicly or commit them to version control.
Use the minimum required permission. Create Read Only tokens for scripts that only fetch data, and reserve Admin tokens for administrative tasks.
Set expiration dates. Avoid using tokens that never expire for production workloads.
Revoke unused tokens. Periodically review your token list and revoke any tokens that are no longer needed.