Quick Start
This section lists the steps from data input to algorithm generation. To demonstrate the sample application from the homepage of the IDE, perform the following steps. Several sample applications are included and updated when new samples become available.
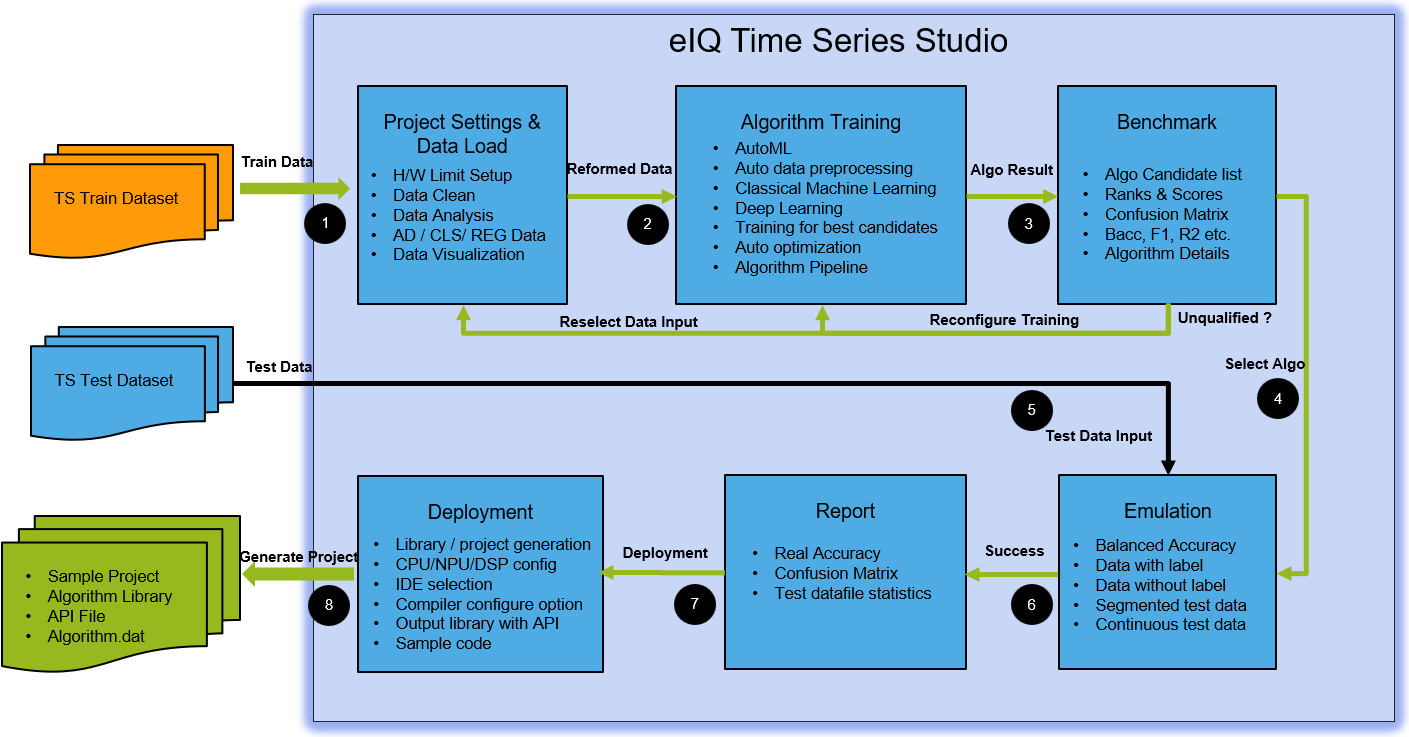
BYOD workflow diagram:
BYOM workflow diagram:
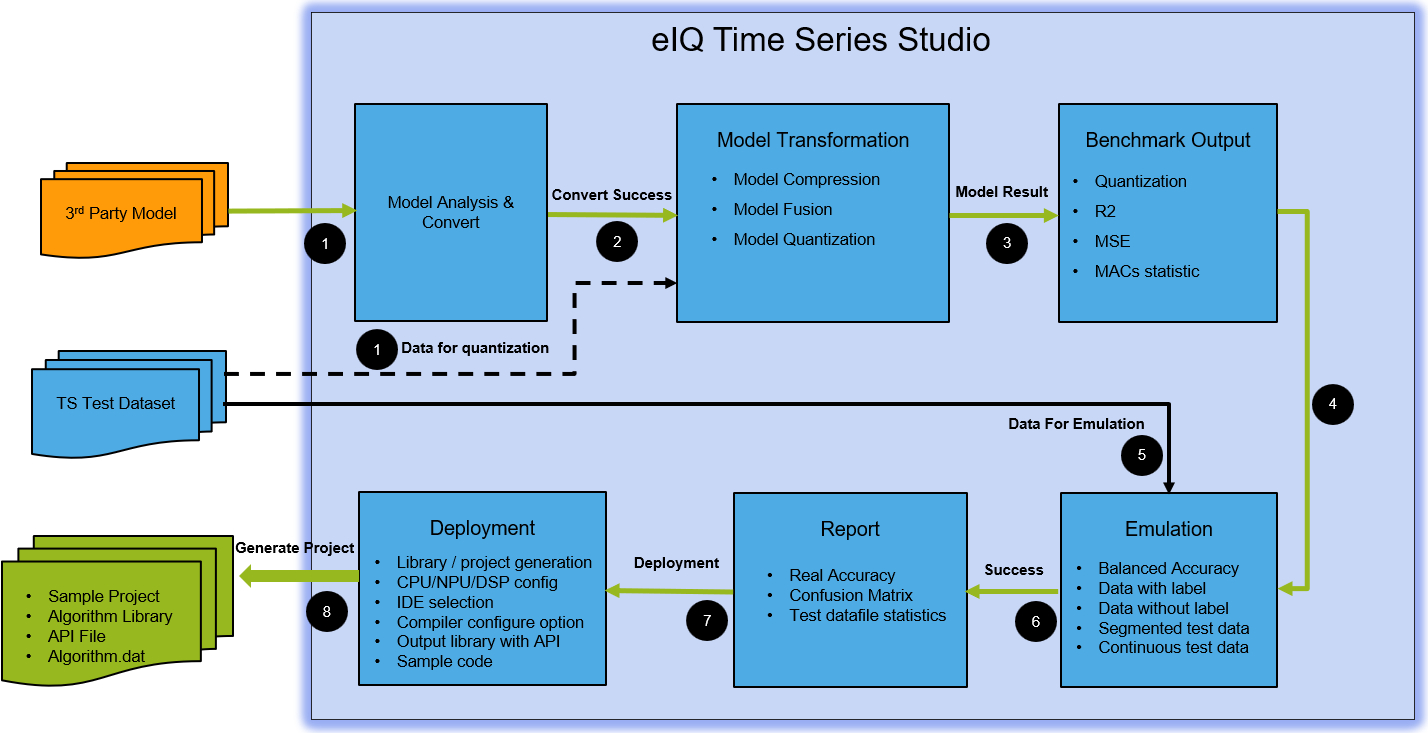
The following is a summary of steps based on the above diagrams.
1) Task Selection
Select the appropriate task (Anomaly Detection, n-Class Classification, 1-Class Classification, or Regression) based on your use case.
2) Project Creation
Select
AutoML ProjectorBYOM Project.Provide a name for your project with essential descriptions.
Select the target board on which you want to deploy the final algorithm. Alternatively, select a CPU-compatible board if your specific board does not exist.
Specify the RAM and flash size limits or keep all as ‘0’ if you do not want any limitations for model training.
Input the proper values for channel number, class number, and target according to your task selection.
3) Dataset Loading
If your project is BYOM, then dataset loading is used for model quantization and is optional if you do not want model quantization.
It is mandatory to prepare the dataset before training. For demonstration, you can collect your own data or use some public datasets.
You can visualize the dataset in raw format, temporal, statistical, and spectral domains with different operators.
4) Model Training
Model training is the core technology that runs auto machine learning for automatic hyperparameter searching and optimization.
Supports both classical machine learning and deep learning models with the best-fit algorithm pipeline selected automatically.
Auto-optimization to get the best model list based on accuracy, flash, and RAM size as weights for ranking scores.
Shows the training progress for accuracy, flash, RAM, and the metric details for each candidate model.
5) Model Input
Model input is only for BYOM to allow importing third-party models for conversion and quantization.
Shows the model benchmark results for both FP32 and INT8 with R2 and MSE metrics.
Shows the model network structure with all layers parsed if the conversion is successful.
6) Model Emulation
Lists all the candidate models for each training session and supports batch selection for automatic emulation testing.
Emulation can help check if the trained model overfits or if the accuracy meets expectations.
Easily manage the emulation report with all model details.
7) Model Deployment
Supports automatic code or library compilation and generation for the specified CPU core and IDE.
Generates the core algorithm library and the API header file. If the board is in the support list, generates an MCUXpresso sample package.
Provides sample application code as a quick reference.
Launch eIQ Time Series Studio
When the eIQ Time Series Studio application launches, a launch screen appears as shown below. There may be a wait time, depending on your PC configuration and network conditions.

During the launch, the cloud server checks your eIQ Time Series Studio version. If your IDE version is outdated, a dialog box appears and recommends you to upgrade to the latest version.
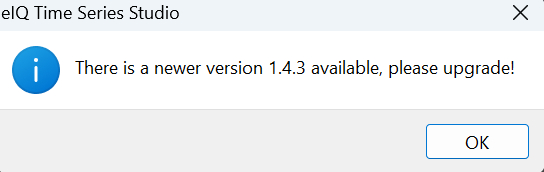
You have two options:
If you use an old version, there is a risk that some functions restricted or some known bugs still there.
Accept and upgrade your IDE to the latest version to avoid any restrictions.
Telemetry Consent Acceptance
eIQ Time Series Studio requires user consent for telemetry data collection to help improve product features and user experience.
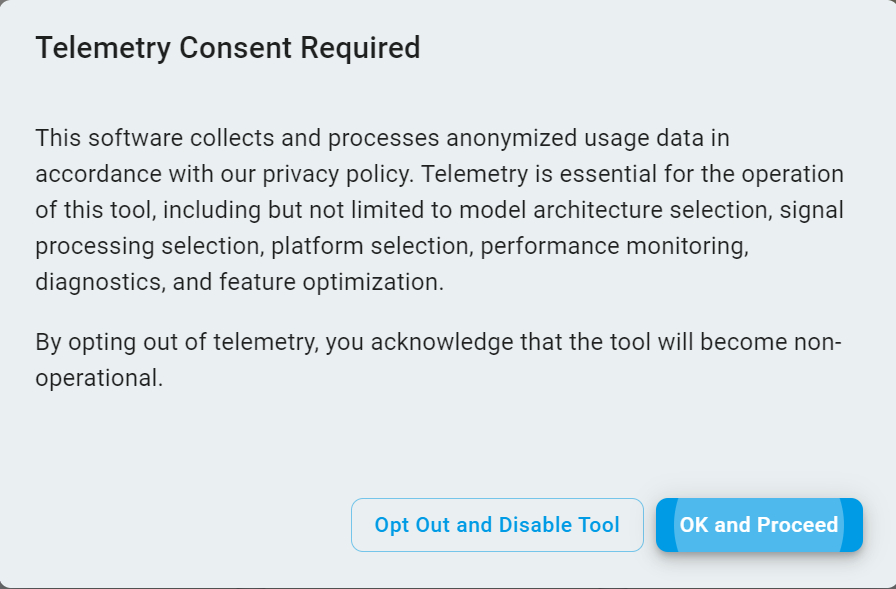
You have two options for telemetry consent:
Click
Opt Out and Disable Toolto reject the telemetry data collection and exit using the eIQ Time Series Studio.Click
OK and Proceedto accept telemetry data collection and continue using the eIQ Time Series Studio.
Login NXP Account
eIQ Time Series Studio requires user login with an NXP account to allow unlimited algorithm library generation. Your login status remains active until you log out. Therefore, you do not need to log in again the next time you launch eIQ Time Series Studio.
NXP Employee Login
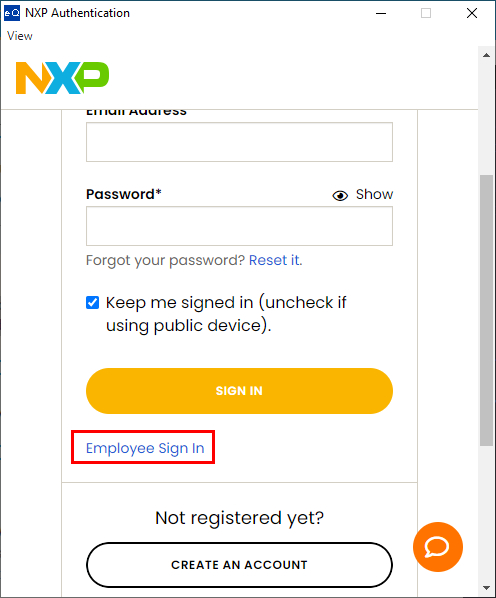
Click
Employee Sign Infor NXP internal users through the NXP SSO login process.Follow the next account selection steps and easily complete the NXP employee login process.
External User Login
The standard NXP account login process required by NXP websites.
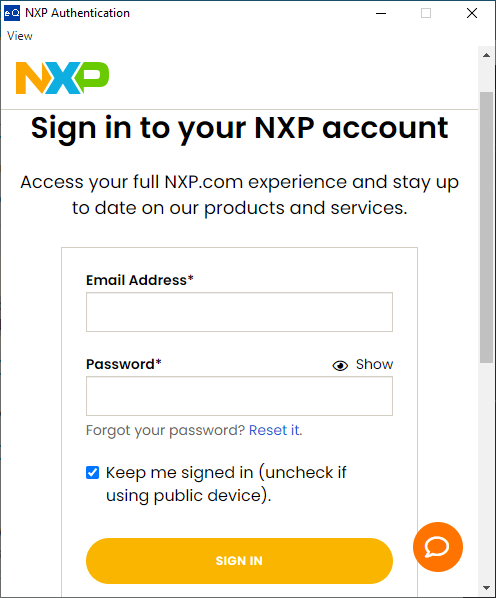
Click
CREATE AN ACCOUNTif you are a new user and have never had an NXP user account. Follow the standard steps and complete the new user registration.Once you have an NXP user account, input your
Email AddressandPassword, then clickSIGN INto complete the login process.After successful login, you can use all the functions. The top-right corner shows your login status.
Tips:
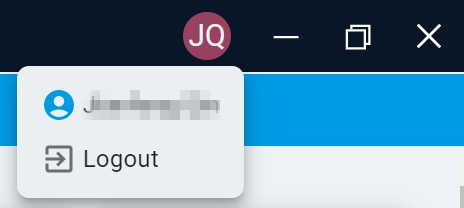
To log out of the IDE, click the Logout icon. However, you must log in again to continue using the IDE.
Function Panel
Here is a brief description of the main functions.
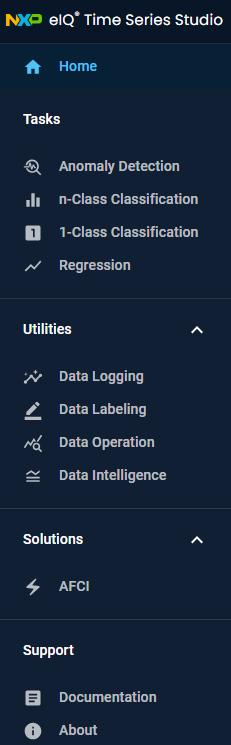
Home
Contains sample applications with sample datasets and a quick guide for anomaly detection, n-class classification, 1-class classification, and regression tasks.
Tasks
Anomaly Detection
Sample applications for anomaly detection from project creation to algorithm library generation.n-Class Classification
Sample applications for multi-class classification from project creation to algorithm library generation.1-Class Classification
Sample applications for single-class classification from project creation to algorithm library generation.Regression
Sample applications for regression from project creation to algorithm library generation.
Utilities
Data Logging
Supports external user boards to capture sensor datasets through the COM port and save them for training.Data Labeling
Supports labeling raw continuous data into different sections of labeled data.Data Operations
Supports converting labeled continuous data to segmented data for training and emulation.Data Intelligence
Supports smart analysis of dataset quality.
Supports smart analysis of continuous datasets to find the best sample rate and window size.
Converts continuous data to segmented data and automatically saves it for training.
Solutions
AFCI
Solutions for “Arc Fault Circuit Interrupter” workflow to build from dataset to AFCI algorithm.
Support
Documentation
An online user guide with technical details updated on the cloud server.About
Provides the IDE version ID.
For better space layout, click the button highlighted below and you can hide and show the function panel.

Task Selection
Task selection is the first step to select the algorithm. You can select Anomaly Detection, n-Class Classification, 1-Class Classification, or Regression. After selecting the task, follow the wizard to complete the steps of Projects, Dataset, Training, Emulation, and Deployment.

Project Creation
Click the Projects tab and then click the Create New Project button and complete the project settings for the task. Different tasks have different input items. For details, see the CREATE PROJECT section.
Dataset Loading
Click the Dataset tab and load your training data files for the task. Different tasks have different input items. Data visualization supports raw format, temporal, statistical, and spectral domains. For details, see the INPUT DATA section.
Model Training
Click the Training tab after the dataset loads. The training function is the core technology that contains automation for algorithm hyperparameter searching, benchmarking, and optimization for the best accuracy while fitting within restricted flash and RAM sizes. For details, see the START TRAINING section.
Model Input
Click the Model Input tab if the project was created for BYOM. Then click the Start New Conversion button, and a popup window appears to configure the conversion name, model selection, and quantization type. For details, see the Bring Your Own Model section.
Model Emulation
Click the Emulation tab after training completes or when partial training results are already obtained. The emulation function is an important and innovative feature that helps:
Verify/test real data and check if the algorithm overfits or if the accuracy meets expectations.
Select all the models listed to benchmark all metrics.
Find bugs in the deployment library.
Emulation requires public network support as the emulation executable image is dynamically generated from the cloud server. For details, see the EMULATION & BENCHMARK section.
Model Deployment
Click the Deployment tab after emulation is completed and you have selected the best model. The deployment function gets the optimized algorithm library and deploys it to real hardware.
Deployment requires public network support as the target library for a specific CPU and the target model. The target IDE requirement is dynamically generated from the cloud server. For details, see the DEPLOYMENT section.